
dark chocolate
hazelnut cake
There are few flavor combinations as magically delicious as chocolate and hazelnut, as evidenced by the massive popularity of Nutella. Although I'm definitely in the pro-Nutella camp, I've found that it can sometimes be a bit too sweet, so I opted for a dark spin on the classic chocolate hazelnut marriage for this cake.
Yield: One 6 inch 3-layer cake or
One 9 inch 2-layer cake
Prep Time: 1.5 hours
Bake Time: 40 minutes
Ingredients
Dark Chocolate Cake
2 cups flour
½ cup cocoa powder
1 tsp baking soda
1 tsp baking powder
½ cup ground hazelnuts
1 ½ cups granulated sugar
1 tsp salt
6 oz bittersweet chocolate, melted
1 cup butter, melted
1 cup whole milk
¾ cup buttermilk
4 large eggs
Hazelnut Buttercream
1 cup butter, room temp
2 cups powdered sugar
2 tbsp cocoa powder
1 tsp hazelnut extract
½ tsp salt
2 tbsp heavy cream
Candied Hazelnuts
1 cup granulated sugar
¼ cup water
roasted whole hazelnuts, skinned
Kitchen Notes: I like to bake and freeze my cake layers the night before I actually need them. They're much easier to frost when frozen.
Instructions
Dark Chocolate Cake
- Preheat oven to 325 degrees Fahrenheit. Line cake pan bottoms with parchment paper and butter sides.
- Sift together the flour, cocoa powder, baking soda, and baking powder in the bowl of a stand mixer. Add the ground hazelnuts, granulated sugar, and salt, and mix at low speed with the paddle attachment to combine.
- Add bittersweet chocolate, butter, milk, and buttermilk to dry ingredients, and mix at medium speed until just combined.
- Add one egg at a time, mixing until fully incorporated before adding the next. Mix batter just until smooth, being careful not to over mix.
- Split batter evenly and pour into cake pans.
- Bake for approximately 40 minutes, until the tops of the cake layers are springy and a skewer inserted into the center comes out clean.
- Let the cakes cool completely in the pans before removing.
Hazelnut Buttercream
- Place butter in the bowl of a stand mixer and beat using the paddle attachment at medium high speed until smooth.
- Add powdered sugar, cocoa powder, hazelnut extract, and salt, and mix at low speed until fully incorporated. Then beat at medium speed for about two minutes.
- Add cream as necessary to obtain a smooth consistency.
Candied Hazelnuts
- Place a pastry slab or cutting board on the edge of a counter and line the floor below with parchment paper.
- Insert the tip of long wooden skewer into each hazelnut.
- Combine sugar and water in a small saucepan, stirring until smooth.
- Cook over medium high heat -- make certain not to stir while heating to avoid forming crystals.
- Continue to cook until the caramel acquires a light amber color. Remove from heat immediately, as the caramel will continue to cook for a few moments after. Allow caramel to cool until it just starts to thicken.
- Dip each hazelnut in the caramel and place the other end of the skewer under the slab or board. If the caramel was the correct consistency, a strand should form and fall to the floor. If the caramel becomes too thick as you are working, you can place it back on the stove on low heat until it reaches the correct consistency again.
- Allow the caramel strands to harden, cut to even desired length, and carefully remove skewers from hazelnuts.
Credits: The recipe for these spectacular candied hazelnuts is courtesy of Olivia at Liv for Cake. Head over to her website for a full tutorial on how to make them.

I'm working on full tutorials for different types of cake baking for the Basics section of the website, but for now, I'll leave you with my number one tip: don't over mix your cake batter. You want the texture to be as light and airy as possible, even for a relatively rich cake like this, and over mixing leads to dense spongey cakes.

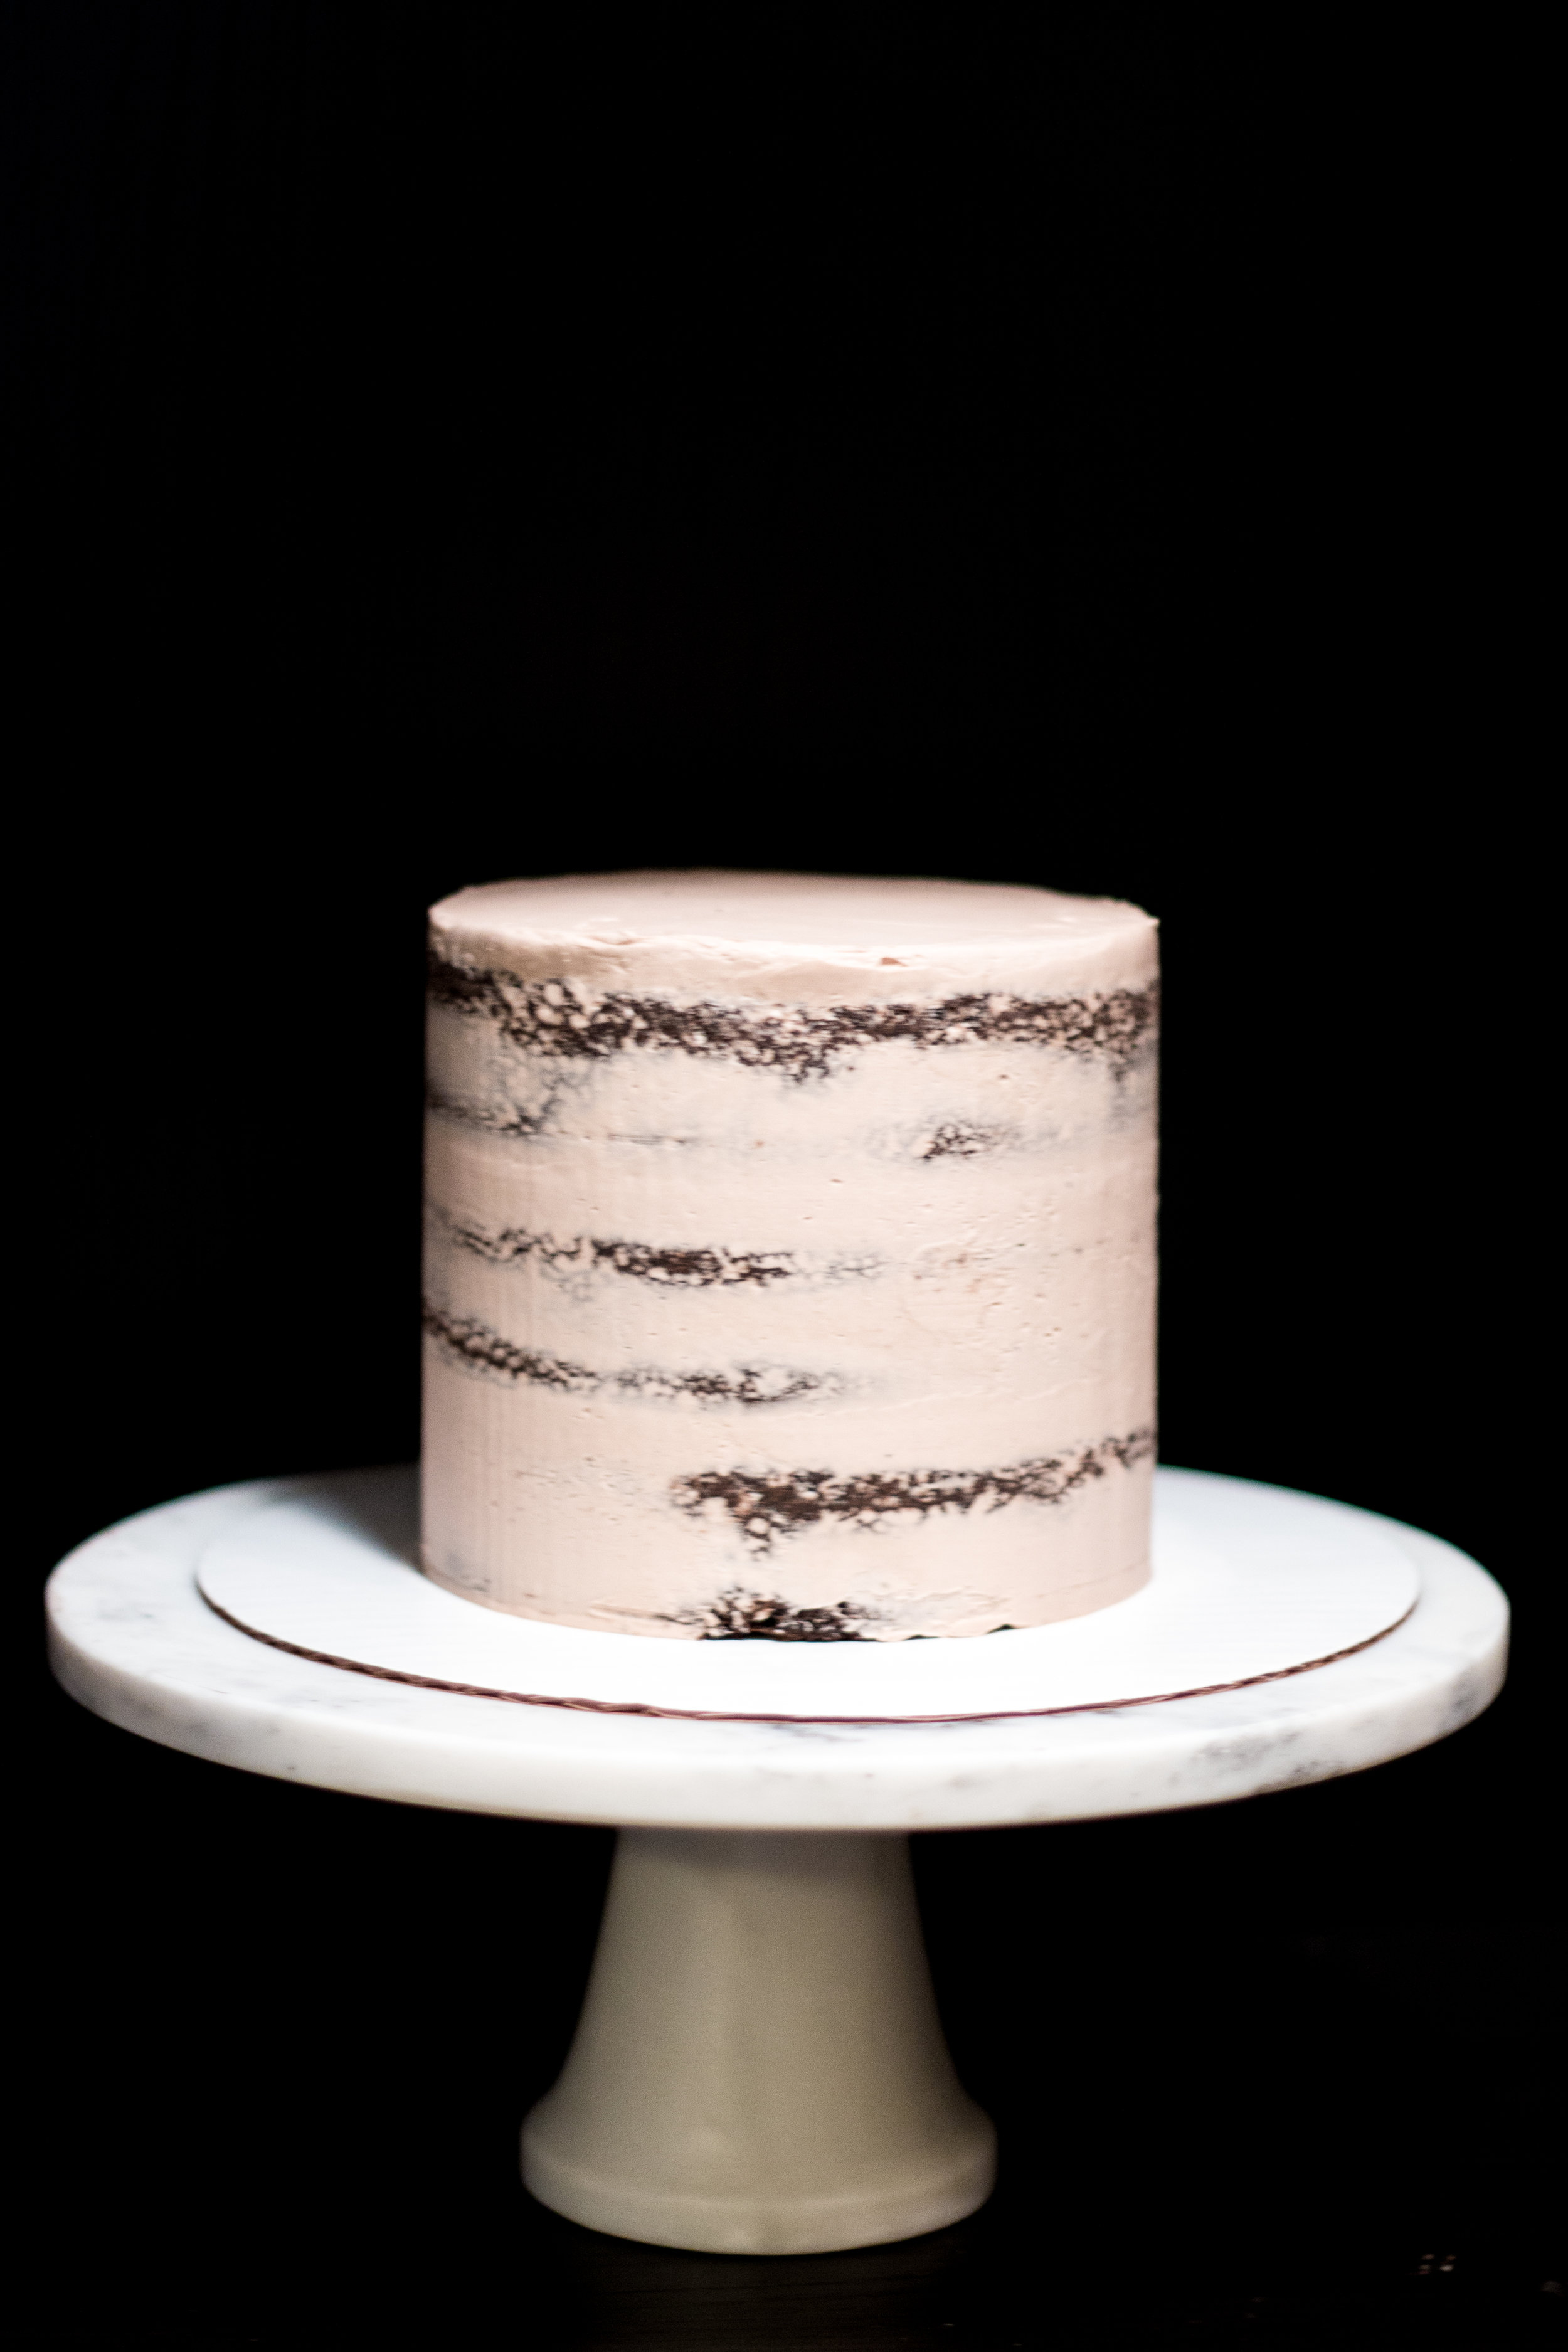

When frosting, I prefer to go for the "naked" cake look for a few reasons: (1) I like the rustic aesthetic, (2) you have to use less buttercream overall, and I'm definitely in favor of going light on the frosting for an already rich cake, and (3) it's easier! Speaking of ease, I highly recommend a cake turntable and nice sharp bench scraper to quickly get smooth edges on your cake.


When skewering the hazelnuts, try not to stick the ends into the ridge along the center of each nut because they're likely to crack. Also be sure not to place them too close together along the pastry slab after dipping them in the caramel because the strands will stick together. I like to stagger them in their distance from the board to help avoid this.

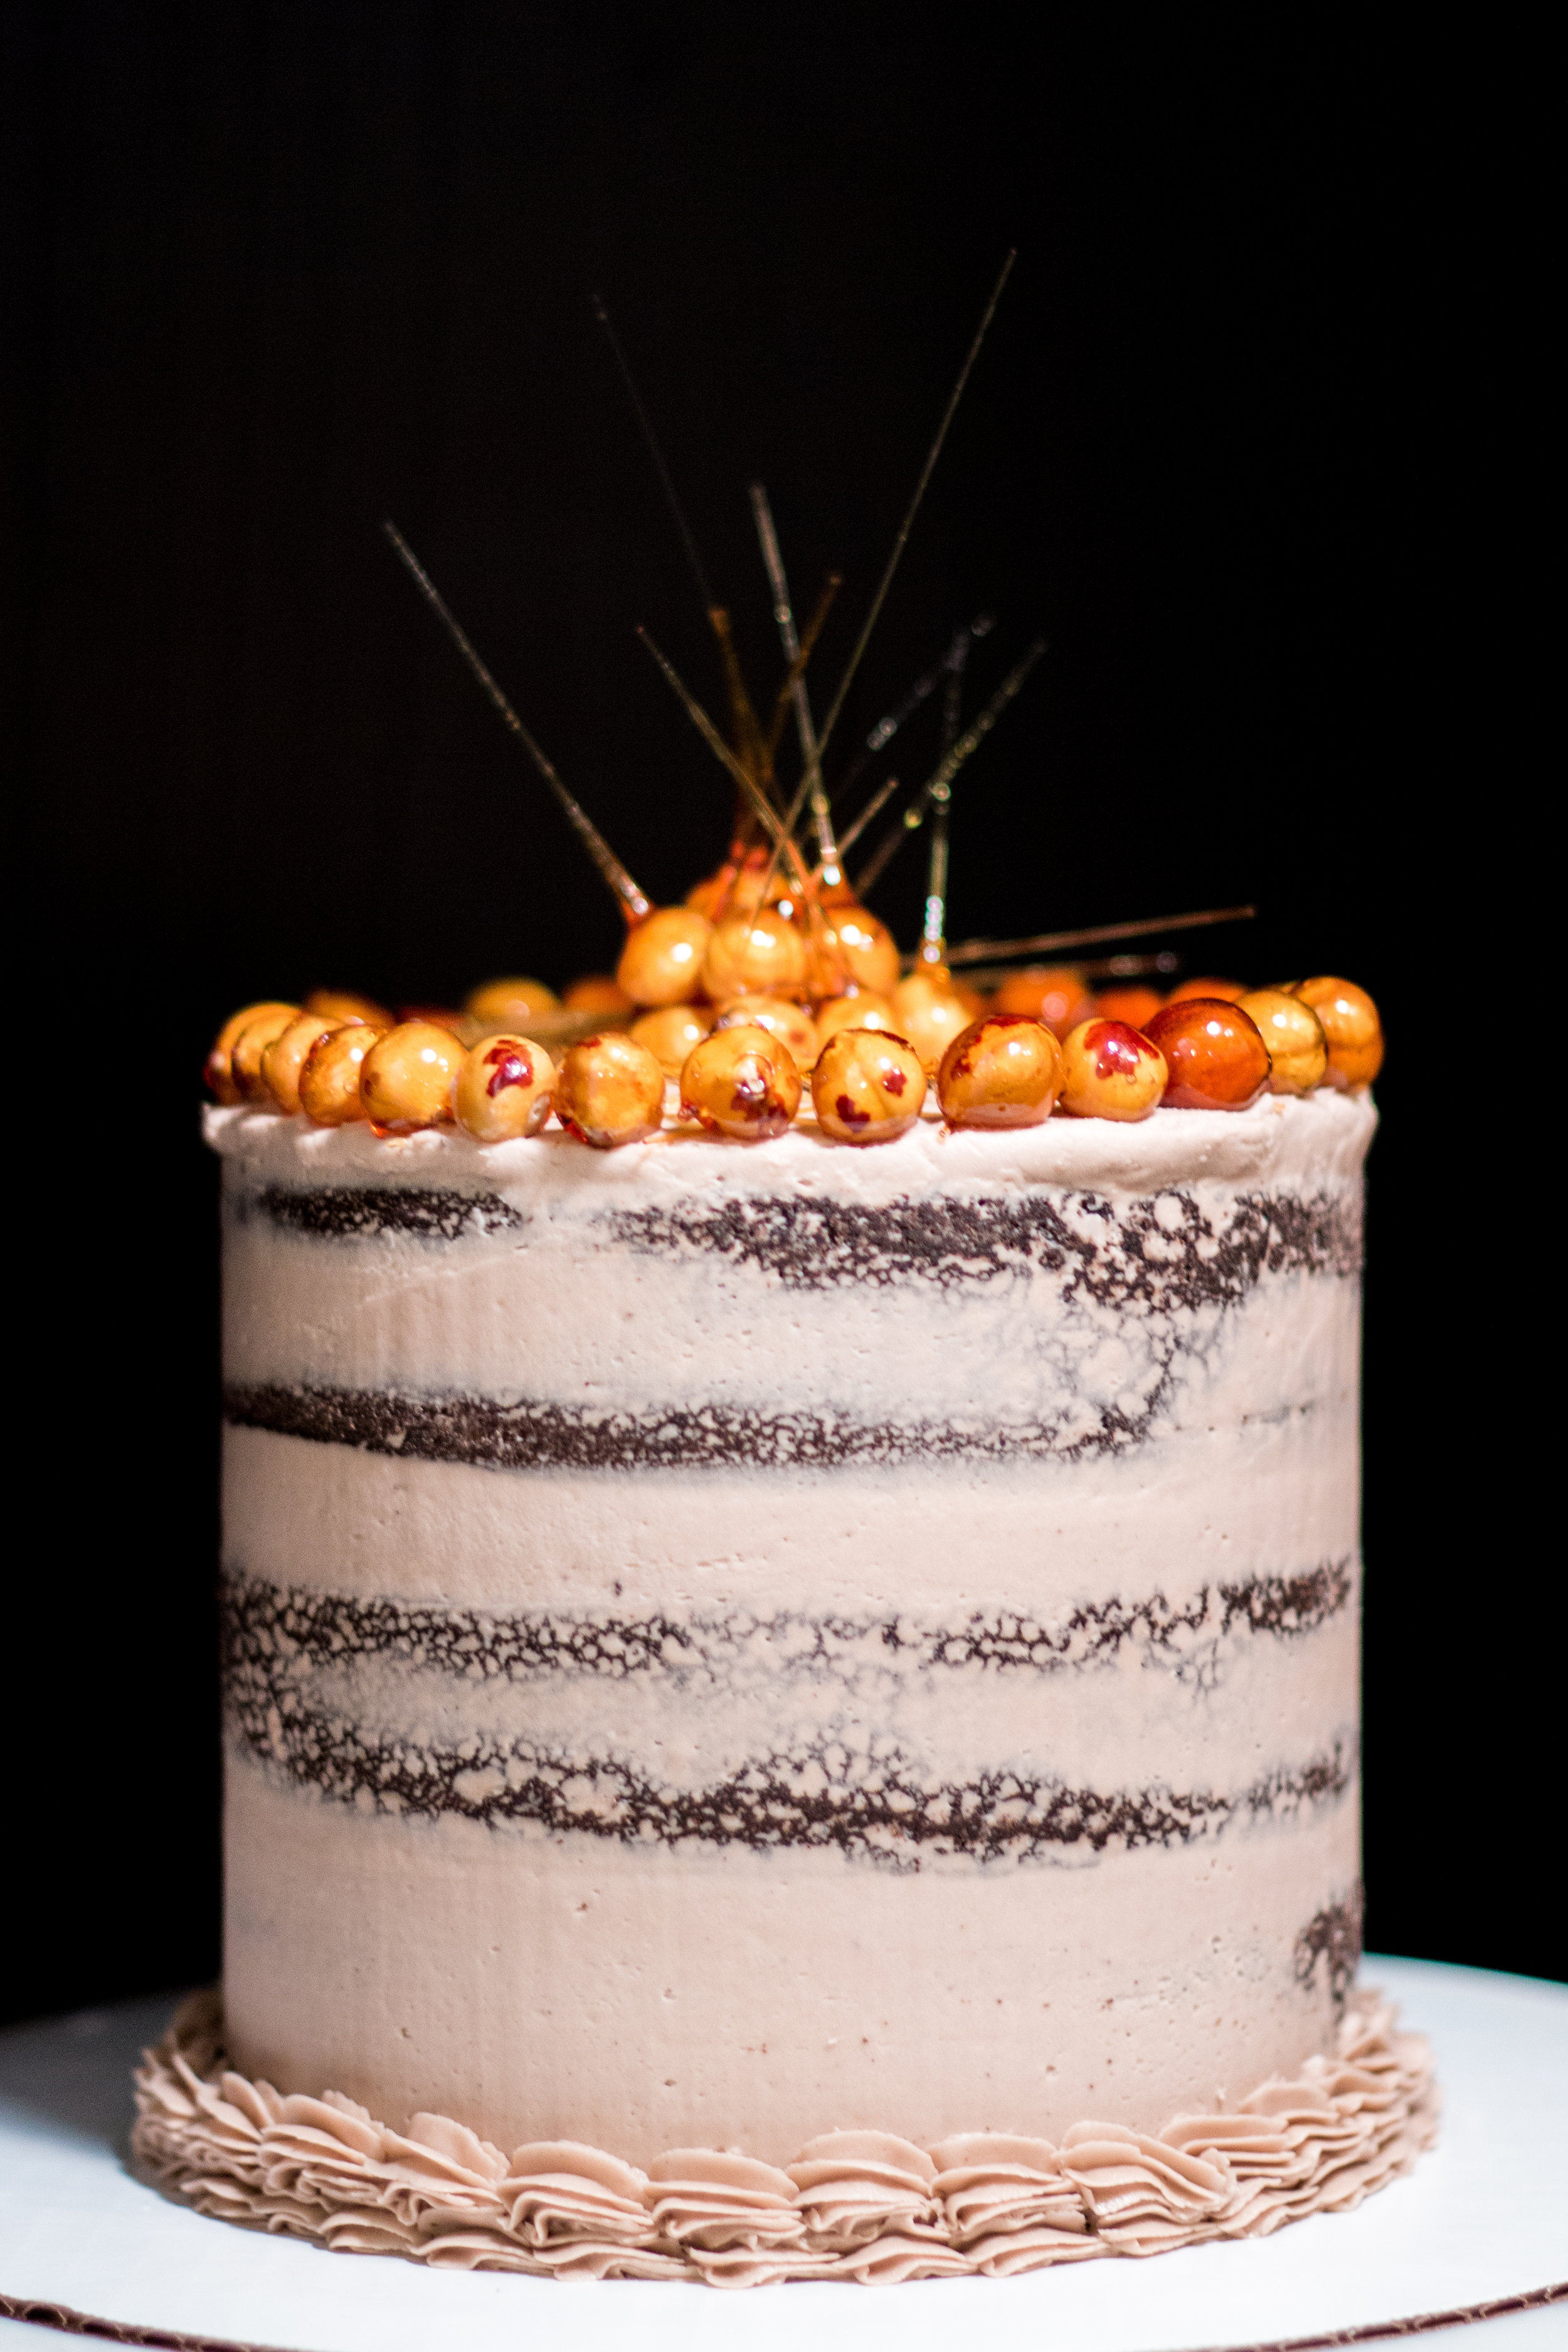
I arranged my candied hazelnuts in a sort of circular vortex on the top surface of the cake, and was very pleased with the overall look, but I'm sure there are plenty of other amazing ways to stage a design with them. Also, if you find yourself with any extra buttercream, you can pipe it along the bottom of the cake for some extra decorative flair.

I could stare at these shiny translucent hazelnuts all day long. That is, if they weren't already all gone.